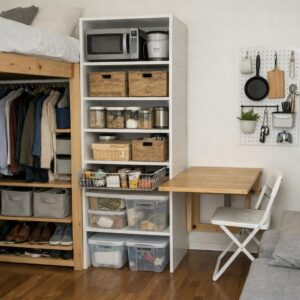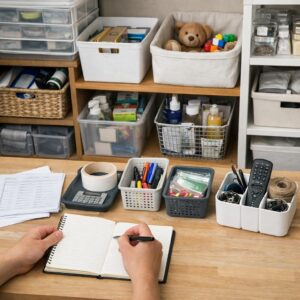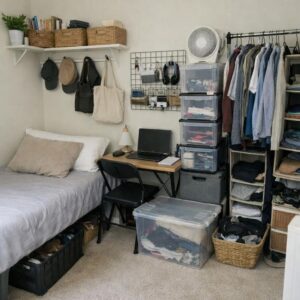
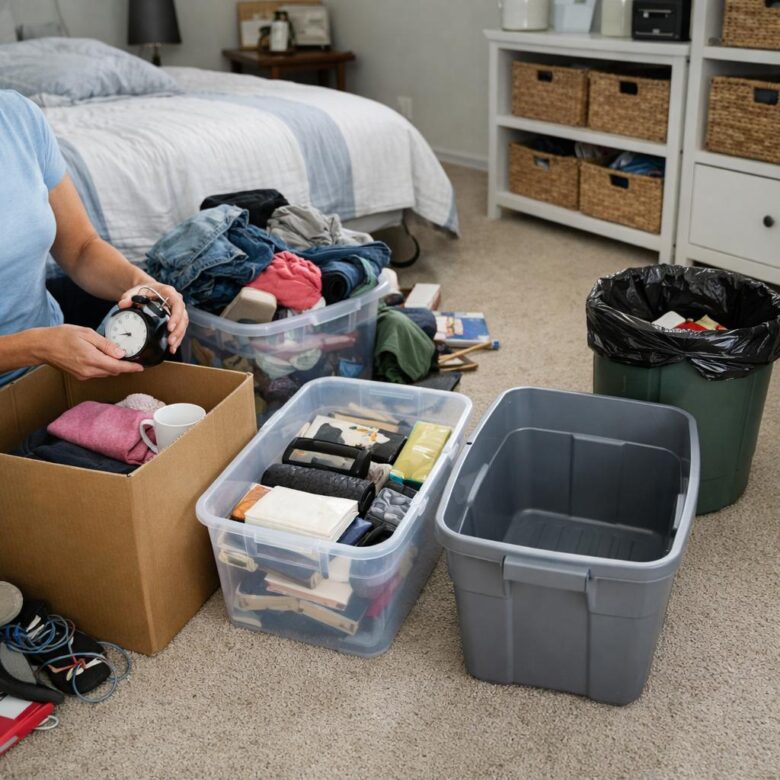
If clutter is spread across every room, do not empty an entire closet or try to fix the whole house in one weekend. Choose one small area, set a 20-minute timer, and sort each item into one of four groups: keep here, move elsewhere, donate or sell, and discard or recycle.
The aim is to finish a defined area without creating new piles throughout the home. A bathroom drawer, kitchen counter, bedside table, or section of an entryway is enough for the first session.
Prepare before you start
You do not need special containers. Gather a trash bag, a recycling bag or box, and two baskets or sturdy bags: one for donations and one for items that belong in another room. Keep a cloth nearby if you want to wipe shelves before returning items.
Decide where outgoing items will go before sorting. Donations might be placed in the car or beside the door for the next trip. Items for sale need a deadline; if they are not listed or sold by that date, consider donating them instead. Check local rules for recycling, electronics, batteries, paint, medicines, and other materials that should not go into ordinary household waste.
Use a timer if open-ended projects tend to feel exhausting. A short session should include a few minutes at the end to remove trash, contain donations, and return misplaced items. Stopping with the area usable is more helpful than emptying everything and leaving it on the floor.
Choose an order that fits your household
Start with the room causing the most daily inconvenience, provided it is not emotionally difficult. An obstructed entryway, crowded kitchen counter, or overflowing bathroom cabinet usually offers a clearer starting point than photographs, keepsakes, or inherited belongings.
If even one room feels too large, shrink the task. Work on one shelf, drawer, surface, or category. In a small home, finish one visible area before opening another. In a larger home, you can assign one basket to collect items destined for other rooms, then redistribute them at the end of the session.
Entryway: make arrivals and departures easier
Remove anything that does not support coming or going. Keep current shoes, coats, bags, keys, umbrellas, and frequently used outdoor items within reach. Move off-season clothing and occasional equipment elsewhere if space allows.
- Limit each person to the shoes and outerwear regularly used in the current season.
- Create one landing place for keys, wallets, and outgoing mail.
- Use a basket for accessories such as hats or gloves.
- Place items that need to leave the house beside the door, not in a distant closet.
Hooks can help when closets are limited, but renters should choose removable options or obtain permission before drilling. Avoid installing more storage until you know how much must remain in the entryway.
Kitchen: clear work areas first
Begin with one counter rather than every cabinet. Return appliances that are rarely used, remove paperwork, and relocate household items that do not belong in food-preparation space. A clear section of counter gives you somewhere to work while sorting drawers and cupboards later.
Next, group items by activity. Store everyday dishes near the dishwasher or drying area when possible. Keep food containers together with their lids, and place coffee or tea supplies near the equipment used to prepare them. The arrangement should reflect your routine rather than a standard kitchen layout.
As you sort, discard expired food and damaged utensils. Consider donating duplicate gadgets, excess mugs, or cookware that no longer suits how you cook. Do not keep an awkward item solely because it was expensive; first ask whether it is useful now and whether another item already performs the same job.
Bathroom: reduce duplicates and expired products
Work through one drawer or cabinet at a time. Remove empty packaging, worn tools, products you no longer use, and expired medicines or cosmetics. Follow label instructions and local disposal guidance for medicines; do not flush them unless the label or an authorized disposal program specifically directs you to do so.
Keep daily items accessible and move occasional supplies to a higher shelf or labeled container. Group backups together so you can check what you own before shopping. Store household cleaners according to their labels, away from children and pets, and never mix cleaning products.
Bedroom and clothing: use fit, comfort, and routine
Start with clothing currently in use rather than trying on every item you own. Remove pieces that are damaged beyond repair, uncomfortable, the wrong size for your present needs, or consistently passed over. Put anything requiring repair or alteration in a small, defined container and set a deadline for handling it.
Separate seasonal clothing only if that makes items easier to access. Under-bed boxes or vacuum bags are optional, not essential. In a small bedroom, reducing the amount stored is usually more useful than adding containers that make belongings harder to reach.
Clear the bedside area last. Keep only what supports sleep or your morning routine, such as a lamp, book, water, or medication stored safely. Move dishes, paperwork, and unrelated charging cables to their proper places.
Living room: organize around shared activities
Because living rooms serve several people and purposes, assign simple homes to recurring clutter. A basket can hold blankets, a small container can hold remotes, and toys can be grouped by type or frequency of use. Leave enough empty space in each container for items to be returned without careful packing.
Remove outdated papers, broken accessories, unused décor, and cables that no longer match any device. If you cannot identify a cable, label it and place it in a temporary box with a review date rather than keeping it indefinitely.
Home office and paperwork: sort by action
Paper becomes easier to manage when it is sorted by what must happen next. Use categories such as act, file, shred, and recycle. Complete quick tasks during the session only if they will not distract you from the area; otherwise, add them to a short action list.
- Keep current projects within reach.
- Archive records that must be retained but are not needed regularly.
- Shred documents containing sensitive personal or financial information.
- Recycle envelopes, duplicate copies, and outdated non-sensitive papers.
Retention needs vary by document and location, so confirm official requirements before discarding tax, legal, property, insurance, or medical records. Digital scanning can reduce paper, but only if files are named clearly, backed up, and easy to retrieve.
Storage areas: declutter before buying shelves
Closets, garages, basements, and spare rooms often contain delayed decisions. Divide these spaces into small sections and identify what is actually stored there. Remove empty boxes, broken items, obvious rubbish, and donations first.
Only buy bins or shelving after sorting and measuring. Choose containers that fit the available space and the items being kept. Labels can be handwritten; a label maker is optional. Frequently used belongings should remain visible or easy to reach, while rarely used items can go higher or farther back.
Do not attempt to handle suspected mold, damaged electrical equipment, leaking chemicals, or unsafe structural conditions as an ordinary decluttering project. Keep people away from the affected area and seek appropriate local guidance.
Make difficult decisions without a permanent “maybe” pile
Some belongings need more thought. Place uncertain items in one clearly labeled box and add a review date. Keep the box small enough to prevent it from becoming long-term storage.
For each item, ask:
- Do I use it in my current routine?
- Would I choose to bring it into my home today?
- Do I own another item that serves the same purpose?
- Is keeping it worth the space and maintenance it requires?
- Could I borrow, rent, or replace it reasonably if needed?
Sentimental items deserve a separate session. Keep representative pieces rather than forcing quick decisions while tired. Photographs can preserve the memory of bulky objects, but taking a photo is an option, not a requirement.
Finish each session with a reset
Before stopping, put kept items back, take out rubbish, contain donations, and return the “move elsewhere” basket. Write down the exact next step, such as “upper pantry shelf” or “desk filing drawer,” so you do not have to decide where to begin next time.
Once an area works, maintain it with a brief reset: return objects to their homes, clear the main surface, and remove anything waiting to leave. If clutter repeatedly collects in one spot, adjust the system. The right storage place is usually close to where an item is used or naturally set down.
Start today with one visible, low-emotion area and stop when it is complete. Room-by-room decluttering becomes manageable when each session leaves the home more usable, not temporarily more chaotic.

The Anna Leong Editorial Team creates practical guides about home organization, cleaning routines, household care, and productive workspaces. We focus on clear steps, realistic examples, and advice readers can adapt to their own homes.